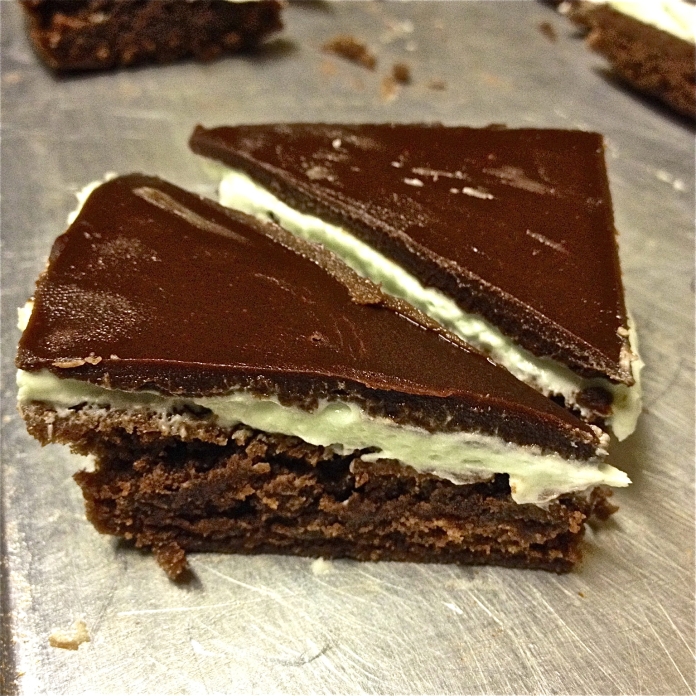
You guys. These brownies. After I cut them I’m pretty sure I ate five. They are so. stinkin’. good. (Thank you, Six Sisters’ Stuff, for sharing these with the world!) Since they’re minty and green (and, oddly, mint green 😉 ) they’re perfect for any St. Patrick’s Day festivities you may have on your calendar. Don’t be put off by the multiple steps – they are super easy and totally worth the effort! I can only imagine the other flavor possibilities that come with this recipe.
Ingredients
Brownies
1 1/2 cups melted butter
3/4 cup cocoa
3 cups sugar
6 eggs, beaten
1 1/2 tsp. vanilla
3/4 tsp. salt
2 1/4 cups flour, sifted
Mint Frosting Layer
3/4 cup butter, softened
3 Tbsp. milk
3 cups powdered sugar
1 to 1 1/2 tsp. peppermint extract – I used a little less as some people aren’t huge mint fans in my house – the crazies 😉
Green food coloring
Chocolate Layer
2 1/4 cups semi-sweet or milk chocolate chips, or whatever combo you like! I added in some of the Dark Chocolate & Mint Chips Nestle puts out at Christmas that I had leftover in my freezer 🙂
3/4 cup butter
Directions
Preheat oven to 350*F. Now, make the brownie base: whisk together the melted butter and cocoa. Add sugar, eggs, vanilla, and salt. Mix well, then using a rubber spatula, stir in the flour by hand until just combined. Don’t over mix. Spread the mixture in a greased 12×17″ cookie sheet and bake for 25-30 minutes, until a toothpick inserted in the center comes out clean. Cool, then put in the freezer for 20 minutes.
While the brownies are in the freezer, make the mint frosting. Beat the butter until smooth, then add the powdered sugar and milk, alternating between 1 cup of powdered sugar, then 1 Tbsp. of milk. Once all of the powdered sugar and milk is in, add the peppermint extract. Finally, add the food coloring if you like. Spread the frosting on the brownie layer after it has had its 20 minutes in the freezer. Once it’s spread in an even layer, place the pan back in the freezer for another 20 minutes.
Now, melt the chocolate chips and butter, either in the microwave or in a double boiler. When the brownie and mint layer is ready, pour the chocolate layer on top and spread evenly. Finally, place the tray back in the freezer for a final 20 minutes to set.
Once that 20 minutes is over, pull the brownies out, let them hang out for a few minutes, then cut them however you like. Squares, triangles, anything. And enjoy!